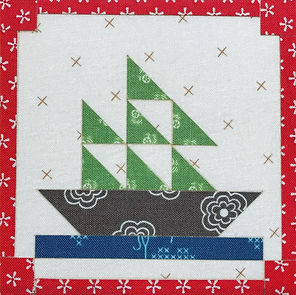
Laser Cutting Fusible Appliqué
Cutting Plan
-
Arrange the shapes in the cutting plan to fit in a rectangle. It is much easier to secure the fabric in the tray of the Laser if it has a straight edge.
-
Notice that many shapes are rather small and thin and cannot easily be weighed down.
Fabric Preparation
-
Add 1/4 inch extra fabric to each side of the rectangle
-
Press fabric before fusing the adhesive to the fabric.
-
Follow manufacturers directions to attach the adhesive.
-
Leave the paper on.
-
Only one layer should be cut at a time.
Weights
-
Only the edges of the rectangle will need to be secured for most cutting plans.
-
If you are cutting larger shapes and want the Laser to cut completely through the paper, you will need to place weights on the shapes.

Example of Appliqué Cutting Plan

Cutting
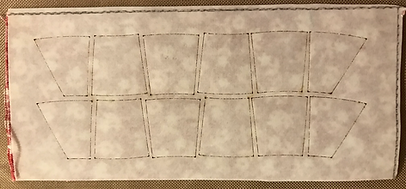
-
A perfectly cut fusible looks like this on the paper side. You can see that the paper is almost cut through and some shapes may actually come loose.
-
The key to cutting fusible fabric is getting the Laser settings just right. It is best to cut completely through the fabric and partially through the paper.
-
If the Laser cuts completely through the fabric and paper, the shapes will blow around if not weighted down and could get cut again by the Laser or catch fire.
-
If you don't see any burn lines on the paper, the Laser probably did not cut completely through the fabric and you will not be able to peel the shapes off the paper.
-
You will need to test each fabric and adjust the settings to get a good result.
Suggested Settings:
Speed: 500
Power: 65-90%
Passes: 1
-
The power setting will depend on the fusible product used and the fabric type. Light fusible require less power than Ultrahold fusible. Batiks require less power than most cotton prints but cotton prints can vary greatly.